Guides › Home cards
The Air Quality card
FreeWorks with: Home Assistant, Apple HomeAbout 1 minute to set up
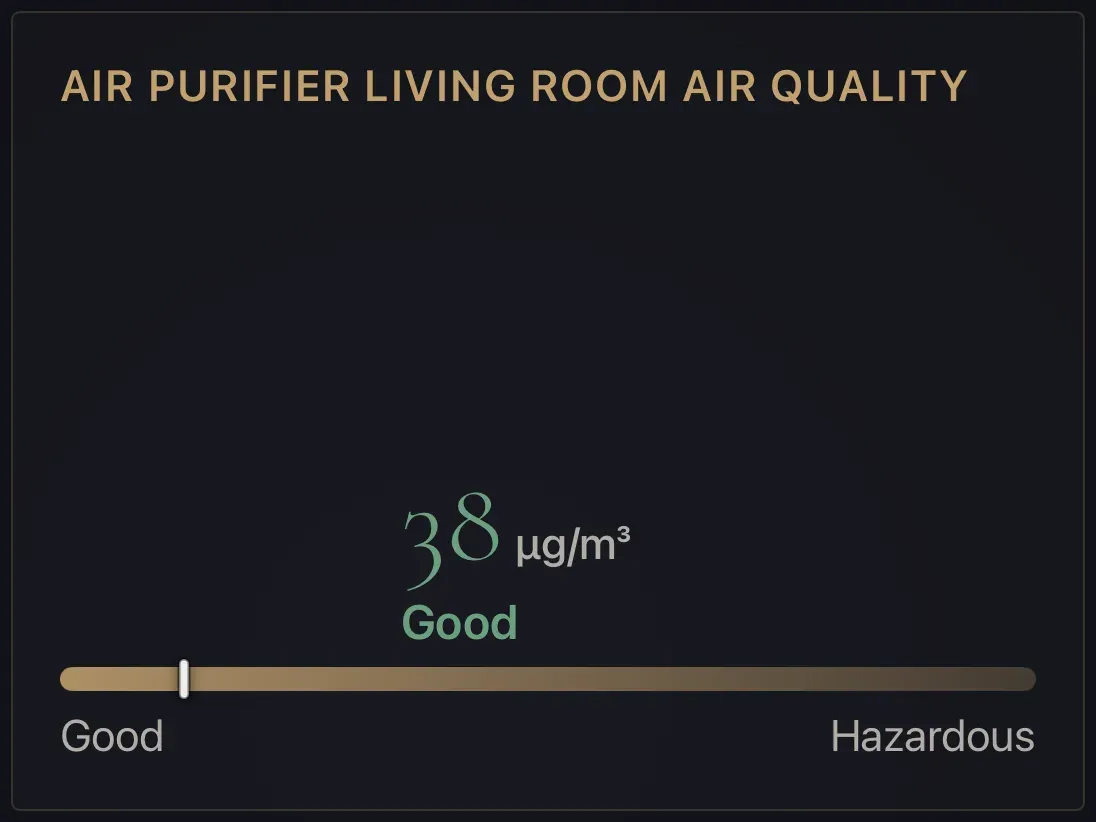
The reading from an air-quality sensor in your home, with a plain-language rating from Good to Hazardous.
What it shows
The current value from an air-quality sensor, the word that describes it (Good, Moderate, and so on), and a colored bar showing where it sits between Good and Hazardous. It understands the common pollutant readings: an overall AQI, fine particles (PM2.5, PM10), carbon dioxide, carbon monoxide, ozone and more, and rates each on its own scale.
For outdoor air quality with no sensor of your own, see The Outdoor Air Quality card.
Add the card
Every card is added the same way. If you have done this before, skip ahead.
- On the dashboard, move to a card you want to replace. Press and hold the center of the remote's pad for about a second. The card dims and a Modify button appears on it.
Hold the center of the pad on the card you want to change. - Press the center once to choose Modify. The Choose a card screen opens.
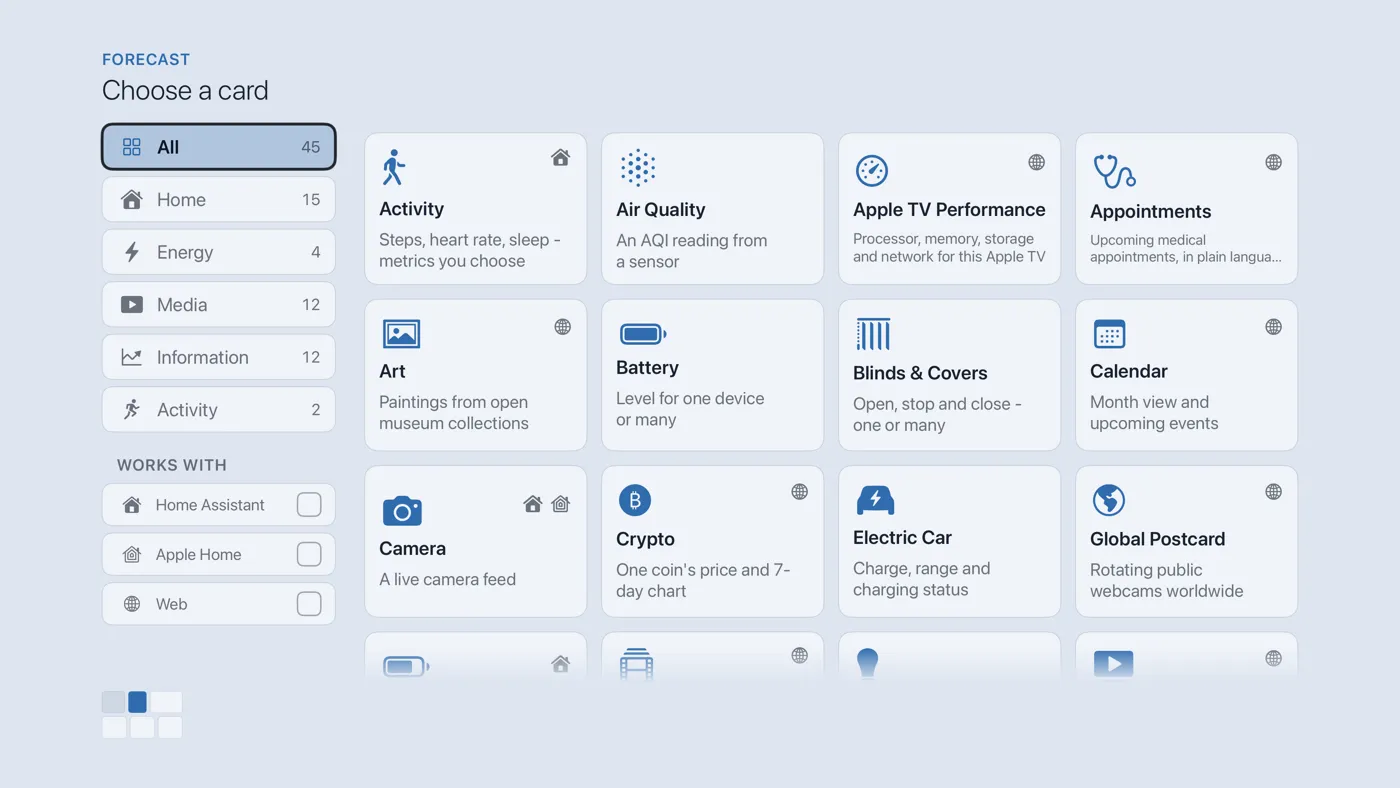
The Choose a card screen. The list down the left side narrows the cards by group. - On the left, choose Home, then move right and choose Air Quality. (You can also leave the list on All and scroll; it is in alphabetical order.)
- Pick the sensor. Only sensors that look like air-quality readings are listed, so the list is short.
- Finish with the button at the foot of the setup screen, which is named for the card, such as Add Calendar Card. A card that needs no setup is added the moment you select it. You return to the dashboard with the new card in place.
Good to know
- Display only; nothing to press.
- A purifier or air monitor often gives several readings (particles, CO2, humidity). Add one card per reading you care about.